
Garlic lovers can’t bear to let beautiful fresh garlic go to waste, especially when it’s home grown. Fortunately, there are several ways to preserve garlic at home. Here we will show you five methods to preserve garlic at home, including how to make your own black garlic and steps for smoking, dehydrating, freezing and pickling garlic. Plus a bonus tip on blanching garlic for easy peeling.
Black Garlic Recipe
Black garlic is a popular ingredient in Asian cuisine that is made from raw garlic. It is not a variety of garlic; you can’t grow it. It is created by slow cooking whole bulbs of garlic for several weeks. The garlic turns black and has a sweet, earthy flavour that adds great umami to any dish. Home cooks will love to try this.
To make black garlic at home, you will need:
- 100-200g (3-7 oz) of whole garlic bulbs
- Small woven cane/bamboo sushi mat/small colander (something to lift the garlic off the bottom of the pan but still allow the heat through)
- Rice cooker or slow cooker
- Undercover outdoor area where electricity is available. This is to stop your house from thoroughly smelling of garlic.
Steps
- Cut a cane sushi mat or similar into a circle to fit the bottom of your cooker and place it in the bottom. This is to prevent the garlic from touching the bottom of the pan and burning.
- Put the whole bulbs of garlic in the rice cooker or slow cooker, ensuring they are not touching the sides of the pan.
- Set it to the warm/keep warm setting. (Note. If your cooker has a maximum setting of 12 hours, reset it twice a day to ensure it stays on!)
- Let the garlic slow cook for about 30 days, or until it turns black.
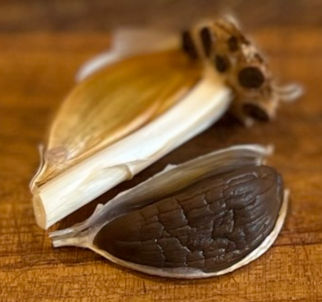
Sometimes you’ll have a mix of black, brown and golden coloured cloves – they are all good to eat if you can’t wait for them all to turn black. The black ones are the sweetest. Once you’re happy with the result, the cloves can be peeled and used in a variety of dishes. Start by smearing a clove on a hot piece of buttered toast.
Smoked Garlic
Smoked garlic is another delicious way to preserve garlic. It has a smoky, slightly sweet flavour that is perfect for adding depth to meat dishes or roasted vegetables. To smoke garlic in your home smoker, you will need:
- 100-200g (3-7 oz) of whole garlic bulbs, uniformly sized or more if you wish
- Hot or cold smoker
- Olive oil
Steps
- Place the garlic bulbs in the smoker, leaving the papers on the bulbs.
- Smoke for one to two hours, until the cloves are soft and the skin is browned.
- Once the garlic is cool, the cloves can be removed and used in any recipe that calls for garlic.
Store whole smoked garlic bulbs for 1-2 months in a glass jar in the refrigerator.
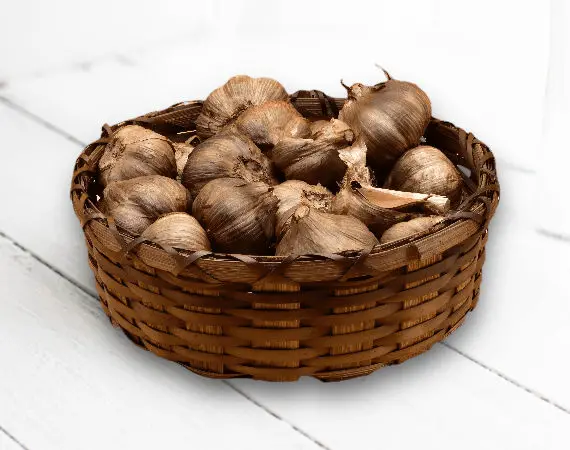
Smoked garlic basket
Black garlic
Smoked garlic
Dehydrated Garlic
Dehydrated garlic will last and retain good flavour for long periods of time. It is perfect for making garlic powder or using as you would fresh garlic bulbs. To dehydrate garlic at home in your oven, you will need:
- Garlic cloves
- Baking sheet or baking paper
- 6-8 hours of uninterrupted time in your oven
Steps
- Peel and slice the garlic cloves into thin pieces.
- Arrange them on a baking sheet.
- Place them in the oven at 140°F / 60°C for six to eight hours, until the garlic is completely dry and crisp.
- Once it’s cool, the garlic can be ground into a powder or stored as dried slices.
Freezing Garlic
One of the simplest and easiest ways to preserve garlic at home is by freezing it. Freezing with the skins on actually makes it easier to remove them. To freeze garlic, you will need the following ingredients:
- Garlic cloves
- Freezer-safe container or bag
Steps:
- Separate the garlic bulbs into cloves, leaving the skins on.
- Place the garlic in a freezer-safe container or bag.
- Store it in the freezer for up to 3 months.
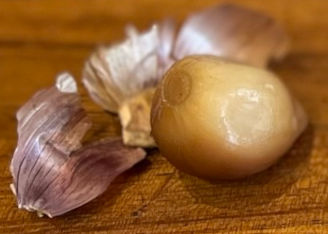
To use, thaw the cloves and bash each clove a little with the flat of a knife to crack and remove the skin. If you peel and chop the garlic prior to freezing, it can be added directly to recipes without thawing, making it a convenient option for busy cooks, however it will not retain its flavour for as long.
Pickled Garlic, Slightly Sweet
Pickled garlic is a tangy and flavourful way to preserve garlic at home. It adds a zingy lift to your dishes that is unlike regular garlic. It can be used in lots of ways, including as a topping for salads or in sandwiches, in stir-fry, or eaten as a snack.
Ingredients
- 1 cup peeled garlic cloves (see tips for peeling below),
- 1 cup white vinegar
- 1/2 cup water
- 2 tablespoons sugar
- 2 teaspoons salt
- 1/4 teaspoon red pepper flakes (optional)
- 1/4 teaspoon black peppercorns (optional)
Steps
- Sterilise a jar by placing it in boiling water or a hot oven for 10 minutes, then let it cool.
- In a small saucepan, bring the vinegar, water, sugar, salt, and any optional seasonings to a boil. Simmer for 5 minutes.
- Add the garlic cloves to the jar.
- Pour the hot vinegar mixture over the garlic cloves, making sure they are fully submerged.
- Let the jars cool to room temperature, then seal store for 3 weeks before using.
Once open, it will last for months in the fridge. This recipe can be adjusted to taste, and you can experiment with different seasonings to create your own unique pickled garlic.
So that’s 5 ways to preserve garlic at home, some easier than others, and some take longer but none are difficult. You can store garlic really well for months at a time if you keep it in the right conditions, but by following these methods, you can ensure you have some preserved to last until next season.

Pickled garlic
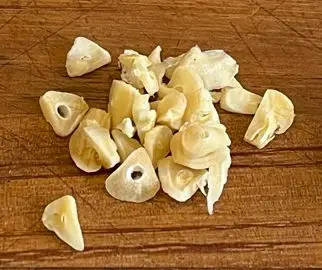
Sliced, dehydrated garlic
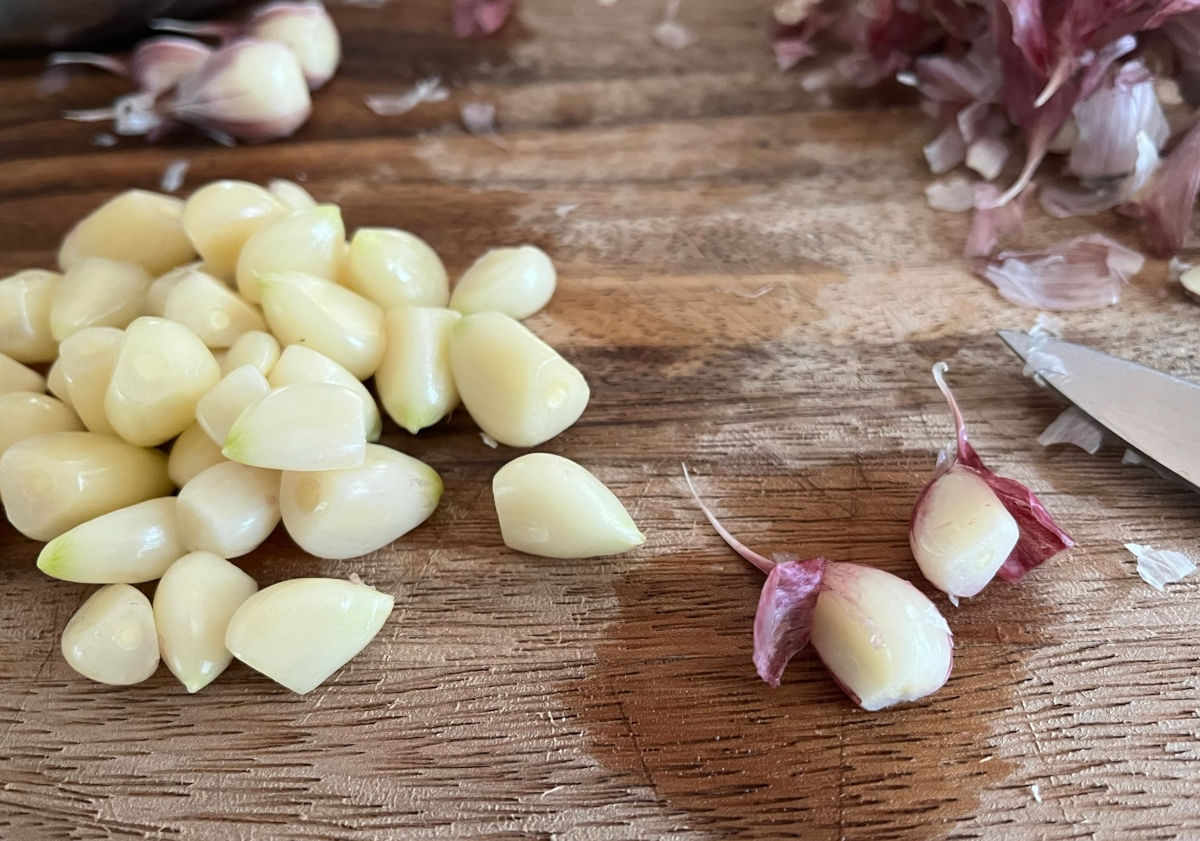
Blanched garlic is easier to peel.
Useful tips
How to peel garlic the easy way without bruising the cloves
When you want to keep the cloves whole, knife crushing methods of peeling fresh garlic just don’t work or take too long. This method blanches the garlic with boiling water to soften the skin without cooking it. It saves time when you want to peel a lot of garlic. To easily peel garlic:
- Separate the cloves and slice off the base plates with a knife, tearing some of the skin away as you finish the cut. This gives you an edge to peel from in the next step.
- Drop the cloves into a jug/saucepan of just boiled water from the kettle. Let them sit in the water for 60 seconds and remove.
- Peel by scaping at the edge of the skin up towards the pointy end. The skin will fairly easily slide off. This is much, much easier than peeling raw garlic.
About the Author: Liz Flower
EXPRESS DELIVERY AVAILABLE
Order Online
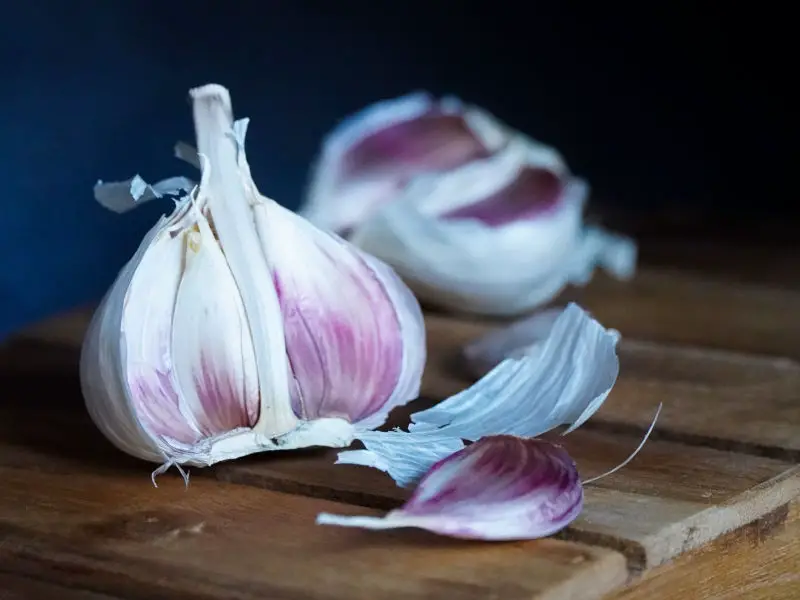
Our fresh Australian garlic is sold by weight, in plaits, or in gift or variety boxes. We grow several varieties including pink, purple stripe, Spanish Rojo and Italian Late, as well as golden shallots.
Garlic Planting Packs
Our 3-bulb garlic planting packs are available in several hardneck varieties. Plant in April-May-June and harvest in December.
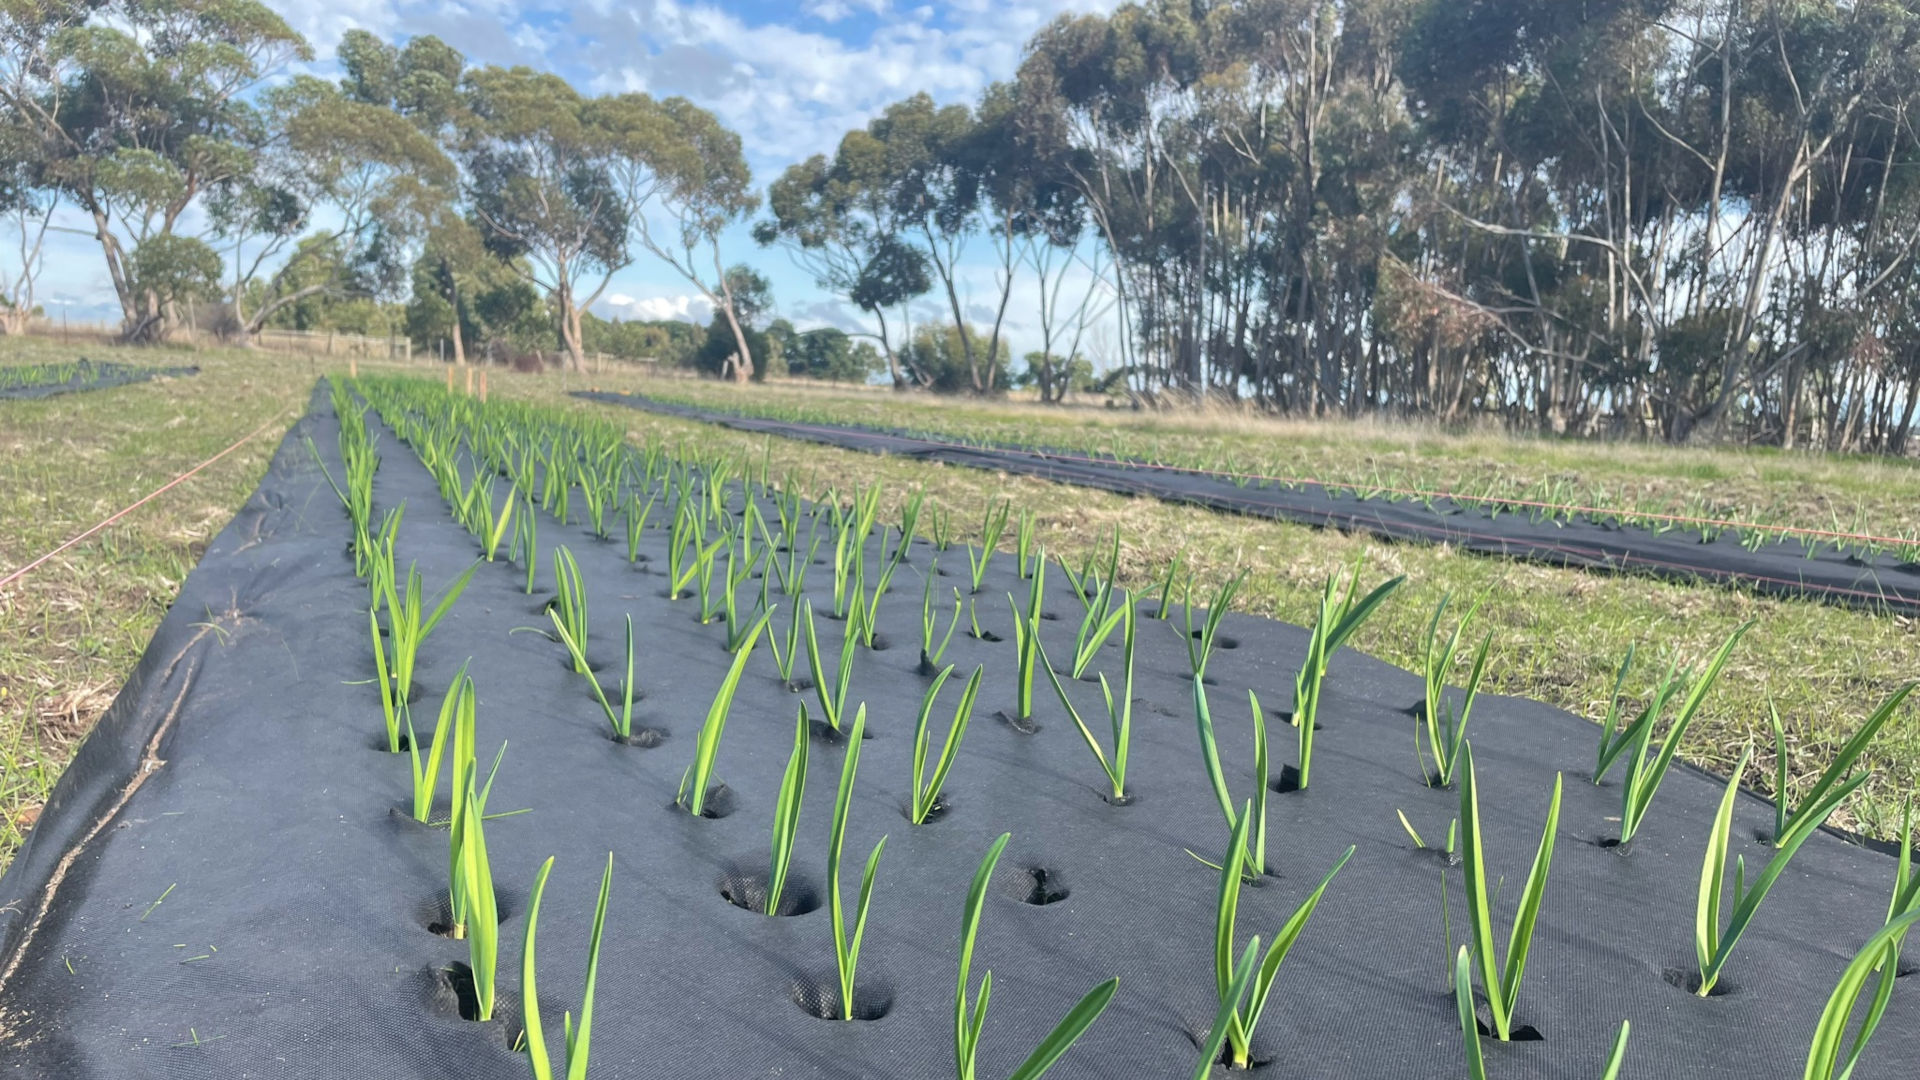
Planting garlic in Australia has become the smart thing to do following the local shortage created by the 2022 floods. Garlic is quite
Naturally grown garlic vs conventionally grown. Here we explain why we think naturally grown is a better alternative to garlic grown in other ways.
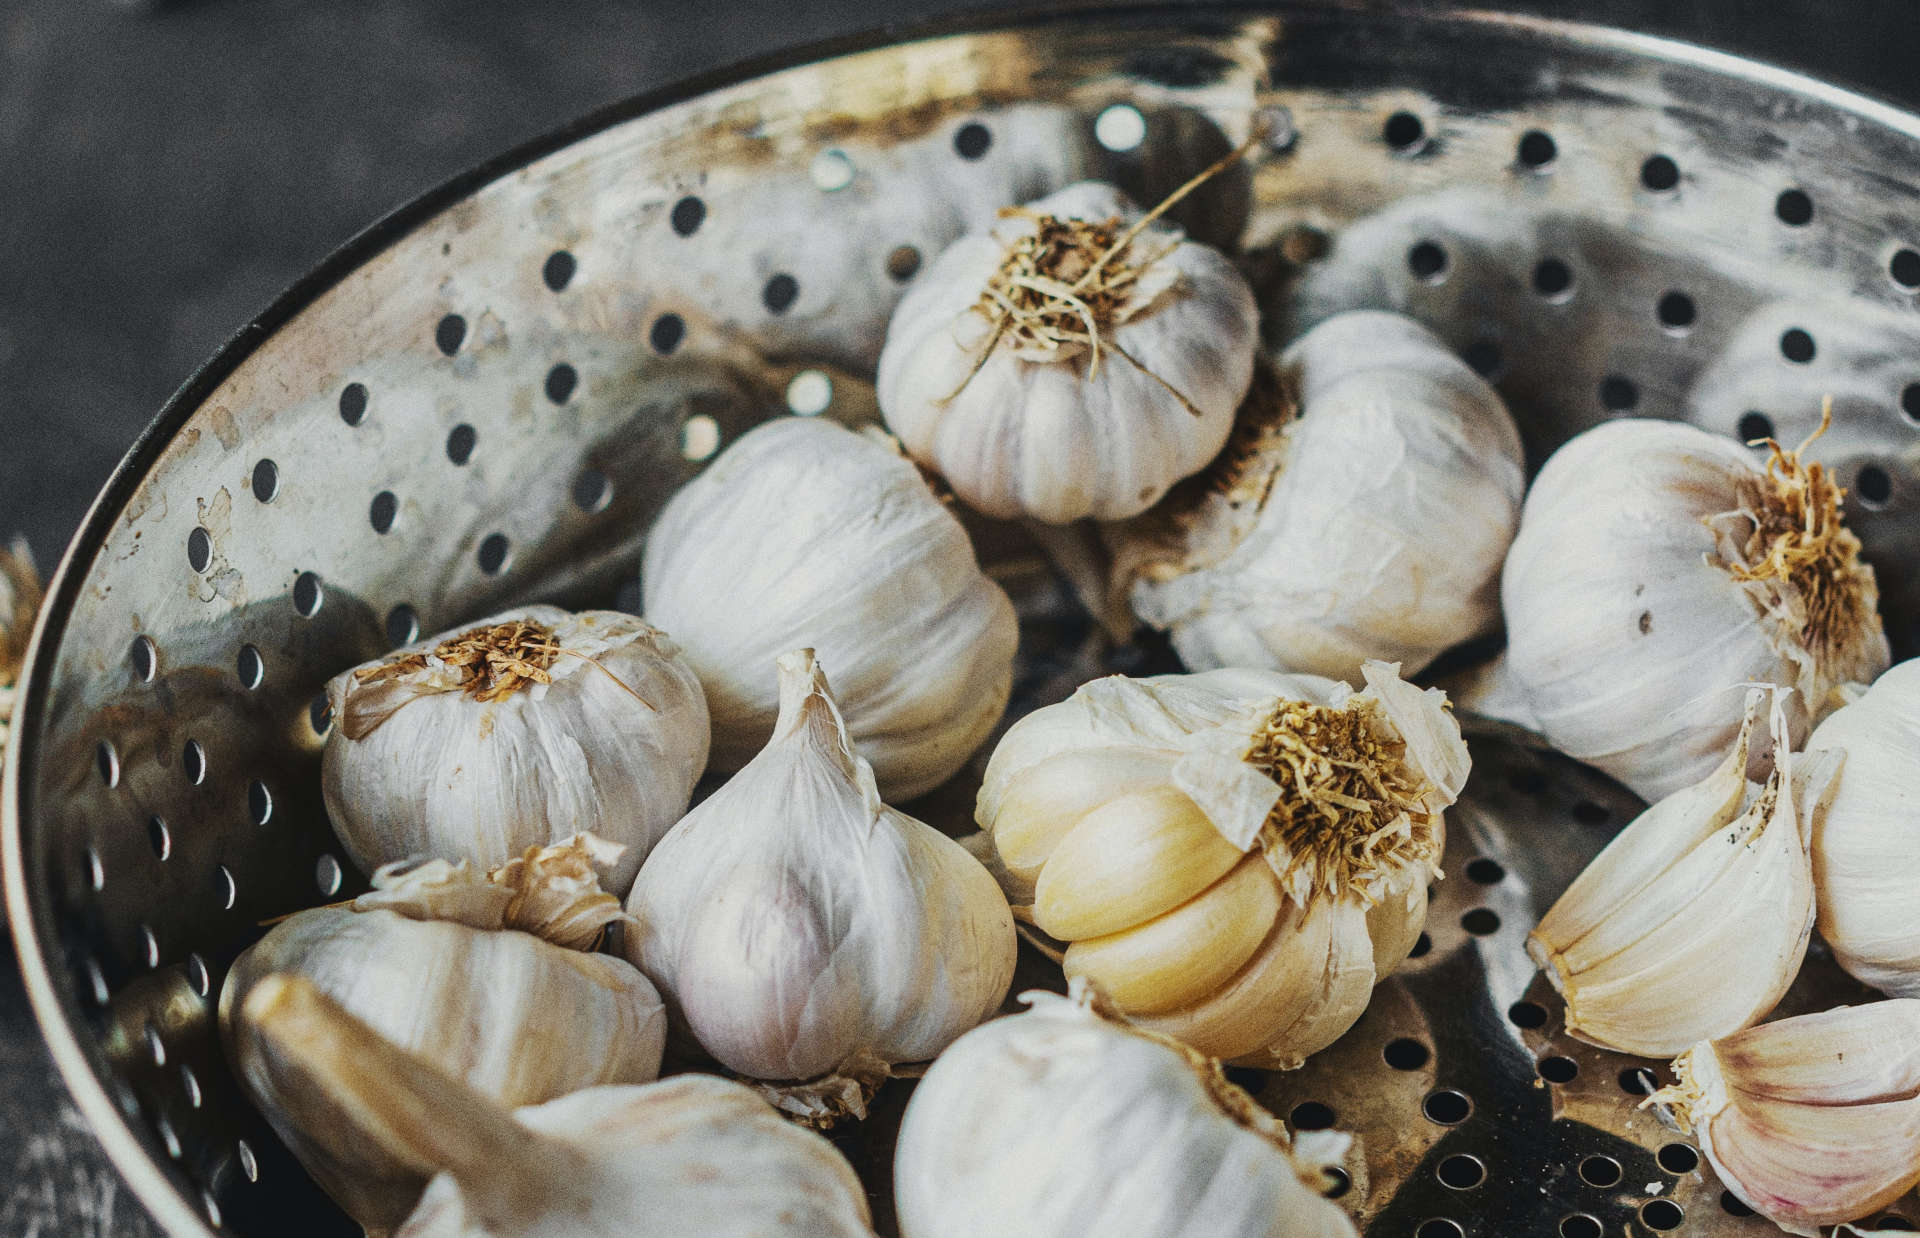
Storing fresh garlic for longest shelf-life. What is the best way to store garlic so you can use every last clove? We explain what works best.